Using GitHub Copilot Models via LiteLLM Proxy
A streamlined approach to accessing GitHub Copilot subscription models through LiteLLM Proxy, with support for OpenWebUI and Claude Code.
The Situation
If you have a GitHub Copilot subscription, you already have access to a range of powerful models — including Claude Sonnet 4.6, Claude Opus 4.6, GPT-4.1, GPT-5.x, and more. A previous post covered how to use the copilot-api reverse proxy to point Claude Code CLI at your Copilot subscription.
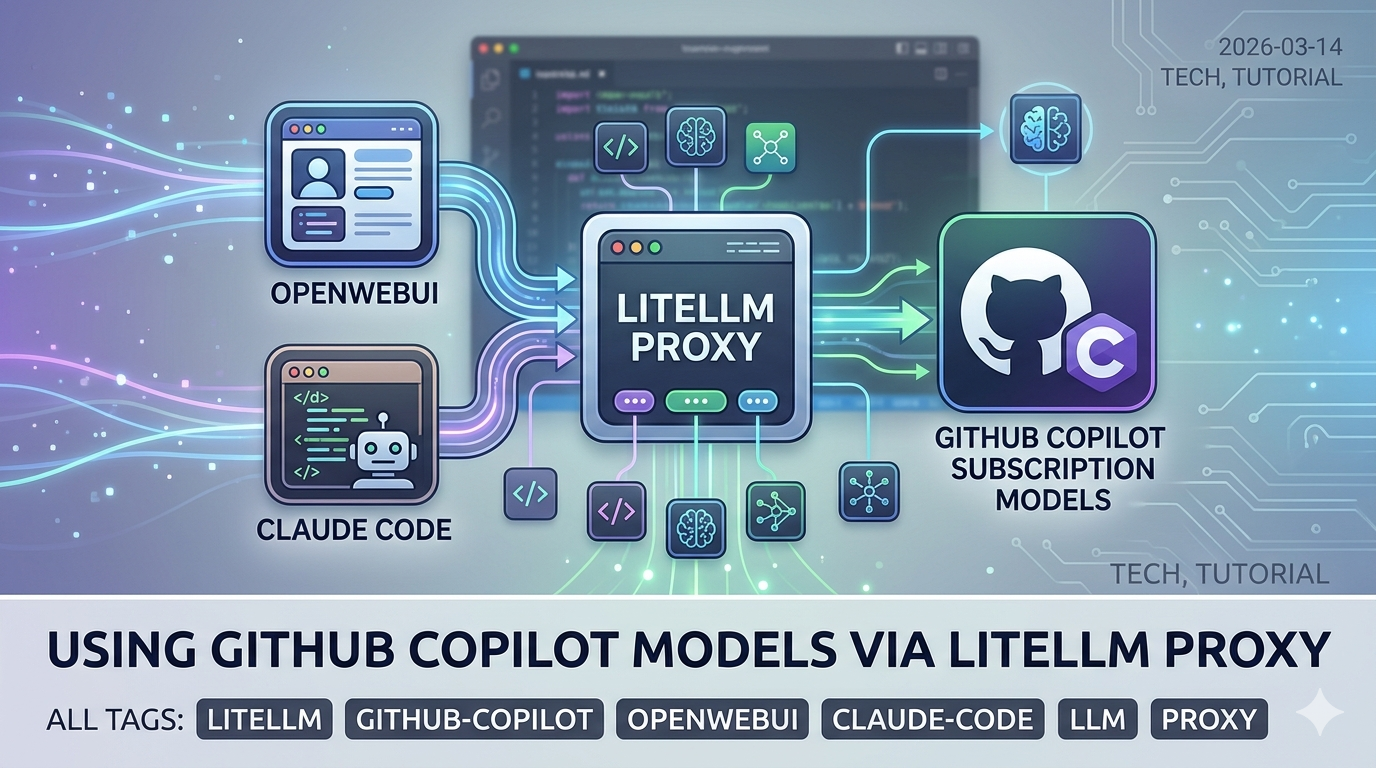
This post takes a more streamlined approach using LiteLLM Proxy — an open-source, production-grade LLM gateway that natively supports GitHub Copilot as a provider. The advantage: a single proxy endpoint that works with Claude Code CLI, OpenWebUI, and any other OpenAI-compatible client simultaneously.
graph LR
    A[Claude Code CLI] --> P[LiteLLM Proxy :4000]
    B[OpenWebUI] --> P
    C[Any OpenAI Client] --> P
    P --> G[GitHub Copilot API]
    G --> M1[Claude Sonnet]
    G --> M2[GPT-4o]
    G --> M3[GPT-5.x / o-series]
Why LiteLLM Proxy?
LiteLLM is a unified LLM gateway that supports 100+ providers behind a single OpenAI-compatible API. This same pattern was covered previously for Azure OpenAI on Open WebUI — here we apply it to GitHub Copilot instead. Unlike copilot-api, it is:
- Officially supported by LiteLLM:
github_copilot/is a first-class provider in the LiteLLM library — though not officially supported by GitHub itself - Multi-client ready: serves OpenWebUI, Claude Code, and any API client at once
- Configurable via YAML: model aliases, rate limits, fallbacks, logging
- OpenAI-compatible: drop-in replacement for any tool that speaks the OpenAI API
- Anthropic-compatible: also exposes an Anthropic-style API endpoint (
/v1/messages), so Claude Code and the Anthropic Agent SDK can connect directly without any translation layer
⚠️ Note that GitHub Copilot does not officially publish a public API for this use case. Like similar community integrations, LiteLLM authenticates via GitHub’s internal token flow. Use it responsibly and in line with GitHub’s acceptable use policies.
Step 1: Set Up LiteLLM
Create an empty folder and add a config.yaml file with the following content:
1
2
3
4
5
6
7
8
9
10
11
12
13
14
15
16
17
18
model_list:
  - model_name: claude-sonnet-4-6
    litellm_params:
      model: github_copilot/claude-sonnet-4.6

  - model_name: claude-opus-4-6
    litellm_params:
      model: github_copilot/claude-opus-4.6

  - model_name: claude-haiku-4-5
    litellm_params:
      model: github_copilot/claude-haiku-4.5

litellm_settings:
  drop_params: true

general_settings:
  master_key: "sk-litellm-local"
The
master_keyis a local API key used by clients to authenticate against your proxy. Set this to anything — it’s not sent to GitHub.No
api_keyis needed underlitellm_paramsfor GitHub Copilot models — authentication is handled automatically via OAuth device flow (see Step 3).
Then run the Docker container from the same folder:
1
2
3
4
5
6
7
8
docker run -d \
  -p 4000:4000 \
  -v $(pwd)/config.yaml:/app/config.yaml \
  -v ~/.config/litellm/github_copilot:/root/.config/litellm/github_copilot \
  --name litellm-proxy \
  --restart always \
  docker.litellm.ai/berriai/litellm:main-stable \
  --config /app/config.yaml
The credentials volume mount (~/.config/litellm/github_copilot) persists your GitHub Copilot auth between container restarts so you only need to authenticate once.
Step 2: Start the Proxy
The container starts automatically after the docker run command. Confirm it’s running:
1
docker logs litellm-proxy
First time only — if you haven’t authenticated with GitHub Copilot before, the proxy will pause and wait for you to complete a one-time login. You’ll see a device code and URL in the logs instead of the ready message. Jump to Step 3 to complete authentication, then come back here.
After authentication, all future startups will show:
1
INFO: Uvicorn running on http://0.0.0.0:4000
Step 3: Authenticate with GitHub Copilot
LiteLLM’s github_copilot/ provider uses OAuth device flow for authentication — this only needs to be done once. After that, credentials are stored and reused automatically.
In the container logs from Step 2, look for output like:
1
2
Please authenticate by visiting: https://github.com/login/device
Enter code: XXXX-XXXX
Visit the URL, enter the one-time code, and authorize the app. LiteLLM saves your credentials to ~/.config/litellm/github_copilot/ on your host machine (shared with the container via the volume mount from Step 1), so you won’t be asked to authenticate again on future restarts.
Once authenticated, verify the proxy is responding:
1
2
curl http://localhost:4000/v1/models \
  -H "Authorization: Bearer sk-litellm-local" | jq '.data[].id'
Step 4: Connect OpenWebUI
If you’re running OpenWebUI, point it at the LiteLLM proxy:
- Go to Settings → Connections → OpenAI API
- Set the API Base URL to:
http://host.docker.internal:4000 - Set the API Key to:
sk-litellm-local - Click Save and refresh the models list
All models defined in your config.yaml will appear in OpenWebUI’s model selector. You can chat with Claude Sonnet, GPT-4o, or any other Copilot-available model directly from the OpenWebUI interface.
Step 5: Connect Claude Code CLI
Claude Code runs on your host machine, so it connects to the proxy via localhost. Set these environment variables before launching:
1
2
3
4
5
6
export ANTHROPIC_BASE_URL="http://localhost:4000"
export ANTHROPIC_API_KEY="sk-litellm-local"
export ANTHROPIC_MODEL="claude-sonnet-4-6"
export ANTHROPIC_DEFAULT_OPUS_MODEL="claude-opus-4-6"
export ANTHROPIC_DEFAULT_SONNET_MODEL="claude-sonnet-4-6"
export ANTHROPIC_DEFAULT_HAIKU_MODEL="claude-haiku-4-5"
Then launch Claude Code:
1
claude
Claude Code will route all API calls through the LiteLLM proxy, which forwards them to GitHub Copilot using your subscription.
Step 6: Make It Convenient with an Alias
Since the Docker container starts automatically on boot via --restart always, you don’t need to manage the proxy manually. Add this alias to your ~/.zshrc (or ~/.bashrc) so you can launch Claude Code with a single command:
1
2
3
4
5
6
7
8
alias claude-ghc='\
  ANTHROPIC_BASE_URL="http://localhost:4000" \
  ANTHROPIC_API_KEY="sk-litellm-local" \
  ANTHROPIC_MODEL="claude-sonnet-4-6" \
  ANTHROPIC_DEFAULT_OPUS_MODEL="claude-opus-4-6" \
  ANTHROPIC_DEFAULT_SONNET_MODEL="claude-sonnet-4-6" \
  ANTHROPIC_DEFAULT_HAIKU_MODEL="claude-haiku-4-5" \
  claude'
Reload your shell config:
1
source ~/.zshrc
Now just type claude-ghc to start Claude Code via Copilot through LiteLLM.
Comparison with copilot-api
| Feature | copilot-api | LiteLLM Proxy |
|---|---|---|
| Installation | npm/npx | Docker |
| GitHub Copilot support | Reverse-engineered | Official LiteLLM provider |
| OpenWebUI compatible | Partial | Full (OpenAI-compatible) |
| Claude Code compatible | Yes | Yes |
| Config file | No | YAML-based |
| Multi-model support | Limited | All Copilot models |
| Maintenance | Community | Actively maintained |
| Token auto-refresh | Built-in | Built-in (OAuth flow) |
Tips
Check available Copilot models:
1
2
curl http://localhost:4000/v1/models \
  -H "Authorization: Bearer sk-litellm-local" | jq '.data[].id'
View LiteLLM proxy logs:
1
docker logs -f litellm-proxy
Stop / restart the proxy:
1
2
docker stop litellm-proxy
docker start litellm-proxy
Re-authenticate if your LiteLLM GitHub Copilot session expires:
LiteLLM handles token refresh automatically. If you ever see an authentication error, delete the stored credentials and re-authenticate on the next container restart:
1
2
rm -rf ~/.config/litellm/github_copilot/
docker restart litellm-proxy
The container will prompt for the device flow again on its next request.